How to Develop Your First Website: A Step-by-Step Guide
Learn how to develop your first website with this comprehensive step-by-step guide. Discover the best tools, website builders, and design tips for beginners to create a stunning and functional site.
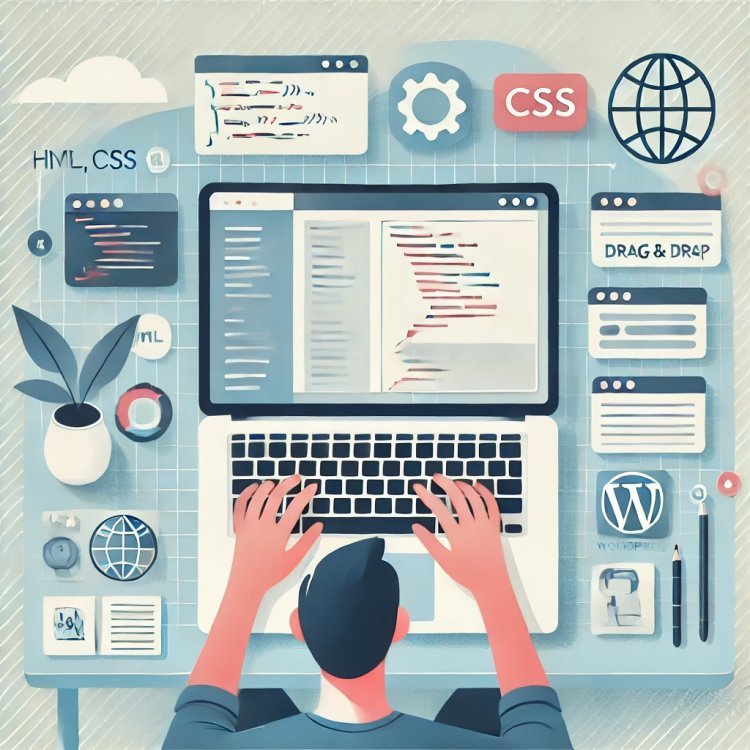
Creating your first website can seem like a daunting task, but with the right tools and steps, it's entirely manageable, even if you're a beginner. This guide will take you through the process of developing your first website, from planning to publishing, using the most straightforward techniques and tools available.
Step 1: Define Your Purpose and Goals
Before you start building your website, you need to clearly define its purpose:
- Is it a personal blog, portfolio, business website, or e-commerce site?
- What are your goals for the website? (e.g., showcase your work, attract customers, share information)
Understanding the purpose will help guide your design and content choices.
Step 2: Choose a Website Builder or Framework
There are several tools you can use to create your website, each suited to different needs and skill levels. Here are some popular options:
- Website Builders (Beginner-Friendly): Tools like Wix, Squarespace, and WordPress make it easy to create websites with drag-and-drop features and pre-built templates. They don't require coding knowledge.
- HTML/CSS/JavaScript (For Coders): If you want more control over your site’s design and functionality, you can code it from scratch using HTML (for structure), CSS (for styling), and JavaScript (for interactivity).
- Content Management Systems (CMS): WordPress.org is a powerful platform that allows for advanced customization with themes and plugins, best for blogs and business websites.
For beginners, starting with a website builder or CMS like WordPress is recommended.
Step 3: Register a Domain Name
Your domain name is your website's address on the internet (e.g., www.yourwebsite.com). Choose a name that reflects your brand or purpose and is easy to remember.
- Use domain registrars like GoDaddy, Namecheap, or Hostinger to search for available domain names.
- Once you find an available domain, register it.
Use my referral link to get an awesome discount on your purchase! Click the link and enjoy the savings on your next deal
hostinger.in (REFERRALCODE : 1AMMAR530)
Step 4: Choose a Web Hosting Provider
Web hosting is where your website's files are stored. Choose a hosting provider that suits your needs:
- Shared Hosting: Affordable and suitable for beginners. Examples include Hostinger, SiteGround, and HostGator.
- VPS or Dedicated Hosting: For more traffic and resources, consider a Virtual Private Server (VPS) or a Dedicated Server.
- WordPress Hosting: If you’re using WordPress, consider specialized WordPress hosting for better performance.
Use my referral link to get an awesome discount on your purchase! Click the link and enjoy the savings on your next deal
hostinger.in (REFERRALCODE : 1AMMAR530)
Step 5: Plan Your Website Structure
Before diving into design, plan your website's structure. Think about the following pages:
- Home: The main landing page that gives an overview of what your website is about.
- About: A page that describes who you are or what your business does.
- Services/Products: A page detailing the services you offer or the products you sell.
- Blog: For sharing articles or updates.
- Contact: Information on how visitors can reach you.
Create a simple sitemap that outlines these pages to help guide your development process.
Step 6: Design Your Website
Design is a crucial aspect of your website that affects the user experience (UX). Consider the following:
- Choose a Theme/Template: Most website builders and CMS platforms offer themes or templates to help you get started quickly.
- Customize the Design: Adjust colors, fonts, layouts, and images to match your brand's style.
- Responsive Design: Ensure your website looks good on all devices, including desktops, tablets, and smartphones.
Tools for Design:
- Canva: For creating graphics and logos.
- Adobe XD or Figma: For prototyping your website design.
Step 7: Create and Add Content
Content is the backbone of your website. Ensure that the text is clear, concise, and relevant to your audience.
- Write compelling headlines and subheadings.
- Use high-quality images that are optimized for the web.
- Include call-to-action (CTA) buttons that encourage visitors to take specific actions (e.g., "Contact Us," "Learn More").
Content Tips:
- Keep paragraphs short for readability.
- Use bullet points and lists to break up text.
- Optimize images for faster loading times.
Step 8: Add Functionality with Plugins or Widgets
Plugins or widgets can extend the functionality of your website. Some popular features include:
- Contact Forms: Use tools like WPForms (WordPress) or the built-in contact form features in website builders.
- SEO Tools: To optimize your website for search engines, use plugins like Yoast SEO or All in One SEO.
- Social Media Integration: Add buttons that allow users to share your content on social media platforms.
Step 9: Test Your Website
Before launching, thoroughly test your website to ensure that everything works as expected.
- Check for Broken Links: Ensure that all internal and external links work correctly.
- Test on Multiple Devices: Make sure your site is responsive and looks good on different screen sizes.
- Page Load Speed: Use tools like Google PageSpeed Insights to test your website's speed and optimize it for faster performance.
Step 10: Launch and Promote Your Website
Once you're satisfied with your website, it's time to go live:
1. Publish the Website: Follow the steps provided by your website builder or hosting provider to publish your site.
2. Submit to Search Engines: Submit your website's URL to Google and Bing to get it indexed.
3. Promote on Social Media: Share your website on your social media profiles to attract visitors.
Tools for Promotion:
- Google Analytics: To track the performance of your website and understand your audience.
- Social Media Platforms: Use platforms like Facebook, Twitter, and Instagram to drive traffic to your website.
Step 11: Maintain and Update Your Website
Regular maintenance is essential to keep your website up-to-date and secure:
- Update content regularly to keep it fresh and engaging.
- Perform software updates for plugins, themes, and the CMS.
- Back up your website frequently to avoid data loss.
Tools for Maintenance:
- UpdraftPlus (for WordPress): To create backups.
- Sucuri or Wordfence: To protect your website from malware and security threats.
Conclusion
Building your first website is a rewarding experience that can open up many opportunities. By following these steps, you'll have a clear path to creating a site that not only looks great but functions effectively for your audience. Remember, the key is to start simple and scale up as you gain confidence and skills.
Good luck with your website development journey!
What's Your Reaction?